Category Archives: Interior

Pivot 3-Drive Alpha Throttle & Auto-Cruise install – Part 2

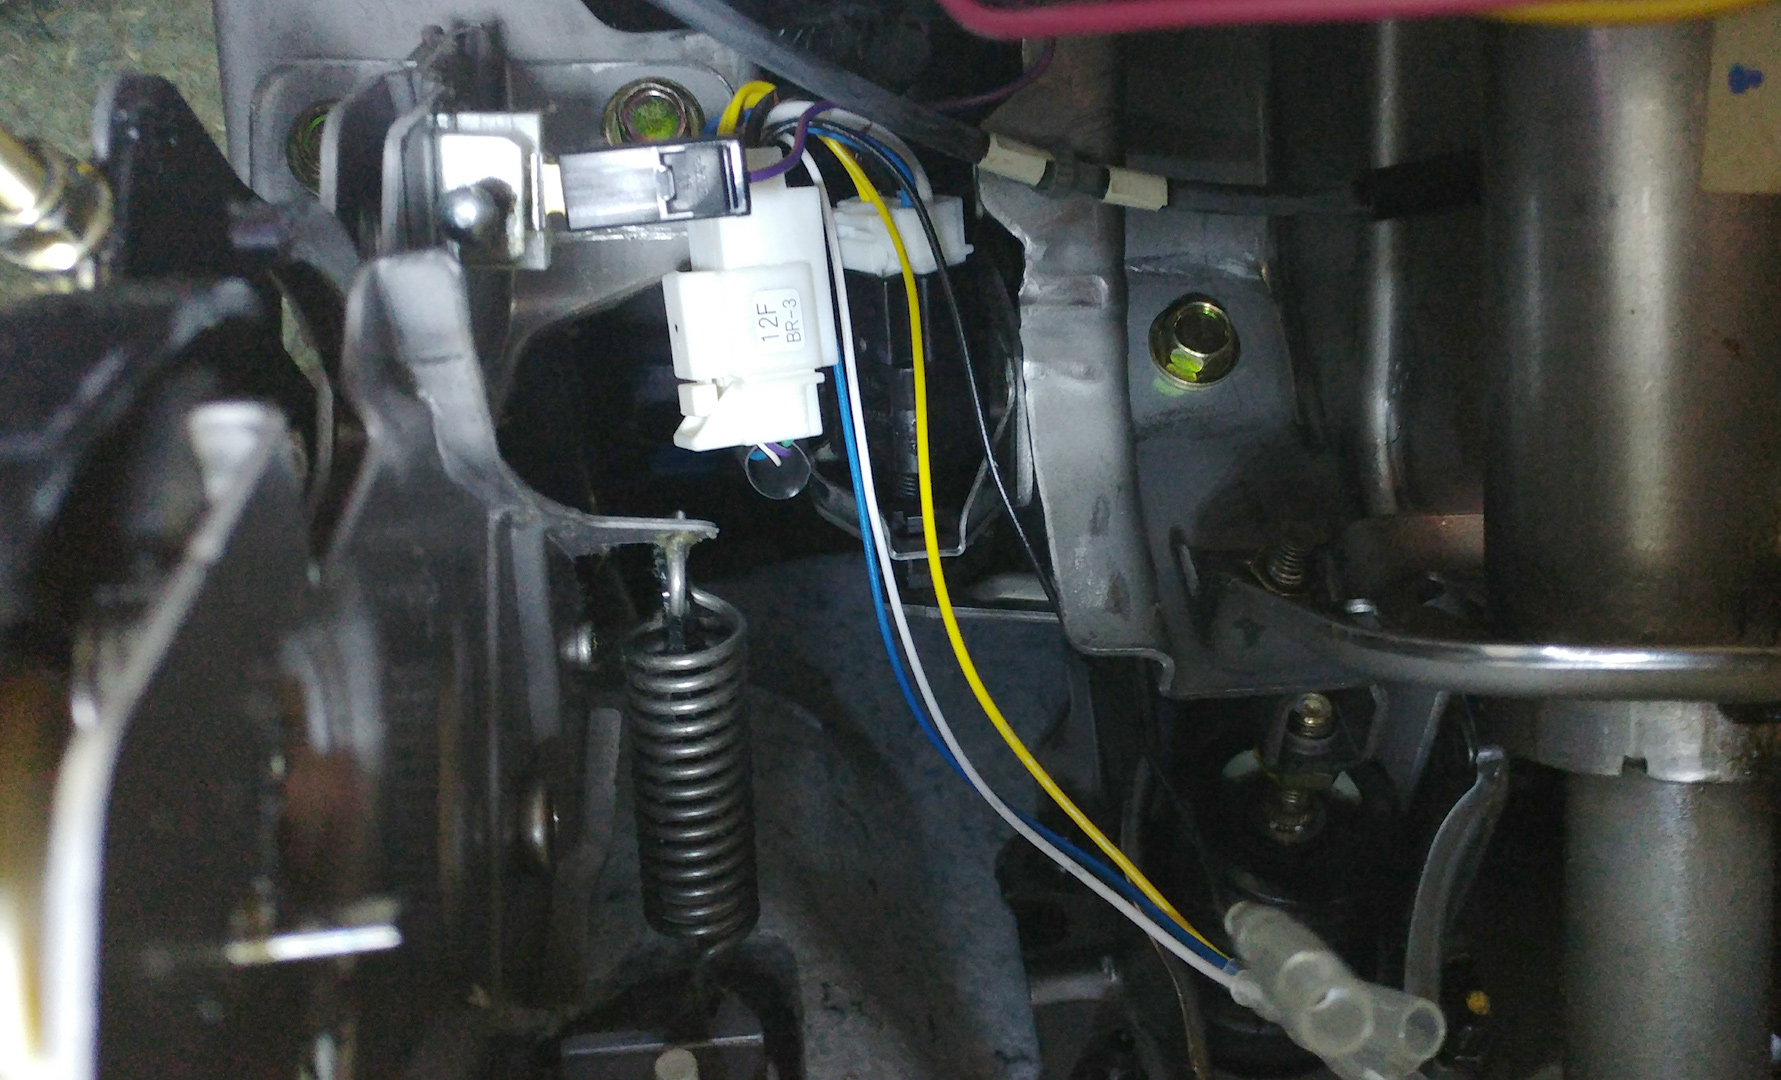
Where was I? Oh yes, the speed signal wire, or more specifically where the heck is it?! Well it turns out it was right next to me all along, but it was mostly hidden by black electrical tape. It was right underneath the fuse box to the right of the steering column, just underneath the OBD connector. You can see the four bolts that hold the petrol flap and bonnet release catches. The wire is connected to the brown four-pin plug:

Speed signal wire
The brown connector that has the speed signal wire

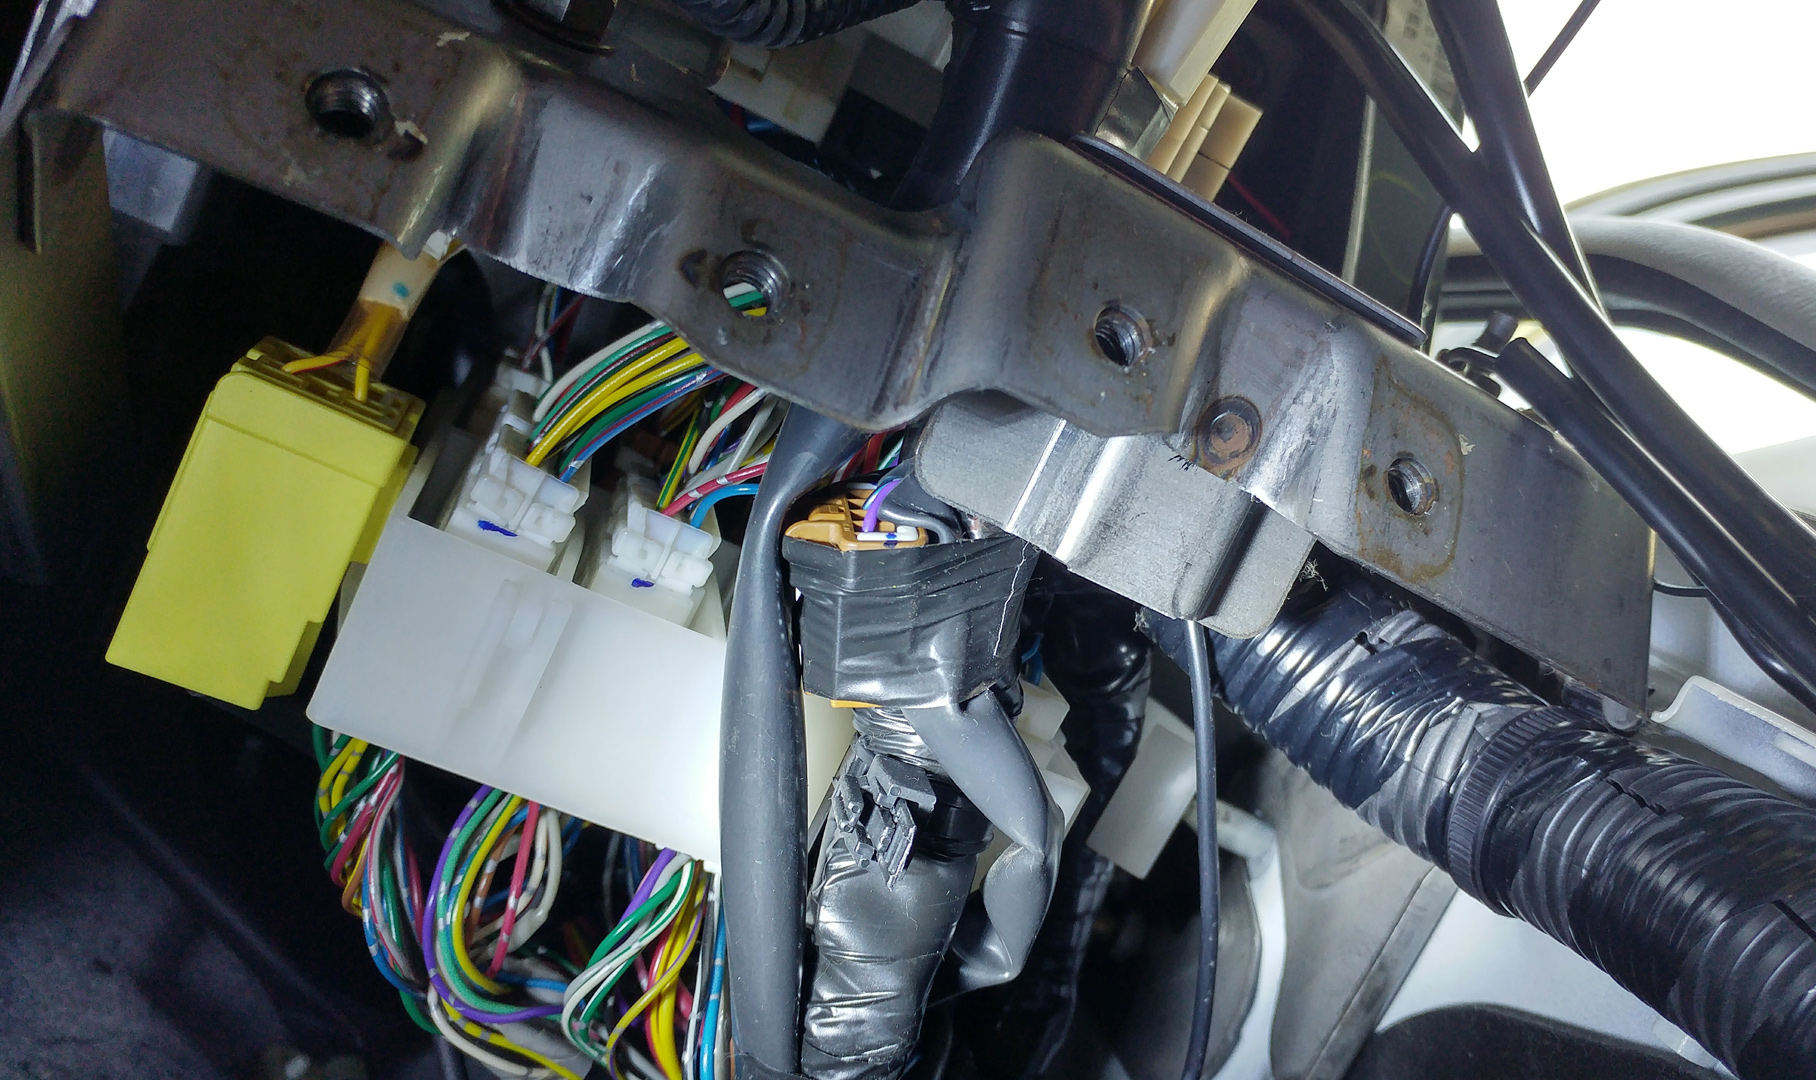
When viewed from the rear the speed signal wire is third from the left, the blue one with a black trace.

Blue/black wire, third from left.

I cut the black sleeve back so I could tap into the wire and solder on the orange wire that connects to the Pivot’s control box.

Insulation stripped back ready for soldering

With the orange wire soldered on, I then wrapped it securely with black electrical tape and fastened the connector back where it was before.

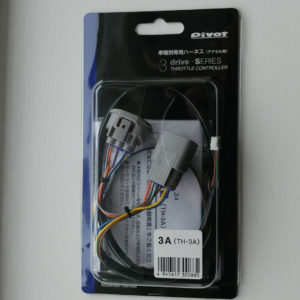
So on to the throttle harness. Dead easy to fit after yesterday’s dry run. Thinking about it I’m not sure I secured the connectors with a tie wrap so I need to go in again and do that. I don’t want that coming undone!

Next I decided that as i had all of the wiring in roughly the right place I’d get the control box mounted. This box is probably about 70mm x 50mm x 15mm and fits in just nicely behind the driver’s kick panel, which is ideal as most of the wiring is in this area and the long lead from the Pivot display unit easily reaches from the centre screen. It’s fixed in place with the supplied double-sided tape.

Control box

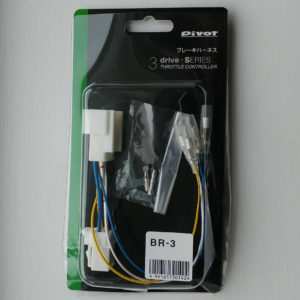
The last part of installation was to connect the white plugs to the control unit and connect the red and grey wires to the brake harness. This is where the fun began.

In part one I mention that, correctly, the white wire is constant 12v. However, I was wrong about the yellow wire being the one I needed for the switched brake signal, except at that point I didn’t know that so I put everything back together and went through the setup routine.

So setup is pretty easy, taking you through configuring the unit so that it knows the throttle voltage at 0% and 100% pedal travel. Once that’s done you need to set the speed pulse setting. For the Elgrand this needs to be set to 2.

Then it was test drive time. The instructions say to be travelling at 35-40 KM/H and press the SET button, at which point cruise control will kick in and the current speed will be held. Except for me it didn’t, instead it showed the error ‘-b-‘. This means that the grey wire to the brake harness isn’t correct. Hmmm.

So back round the block to home, lower dash panel, fusebox cover and kick panel removed. This time I connected the grey wire to the blue wire as in the other thread I’d seen. Another test drive…and still getting ‘-b-‘ when activating cruise. Sigh.

Repeat the above steps but connecting the grey wire to the black wire. Ok, for some reason I’d discounted the black wire (I perhaps assumed it was an earth as Nissan like to use black for earth) and by now somewhat pissed at having to remove the dash again I got the multi-meter out and checked the black wire for 12v when pressing the brake pedal. Bingo! 12v as required. Dash back together.

In summary then: white = constant 12v, black = switched 12v (On my 2003 E51 Rider at least).

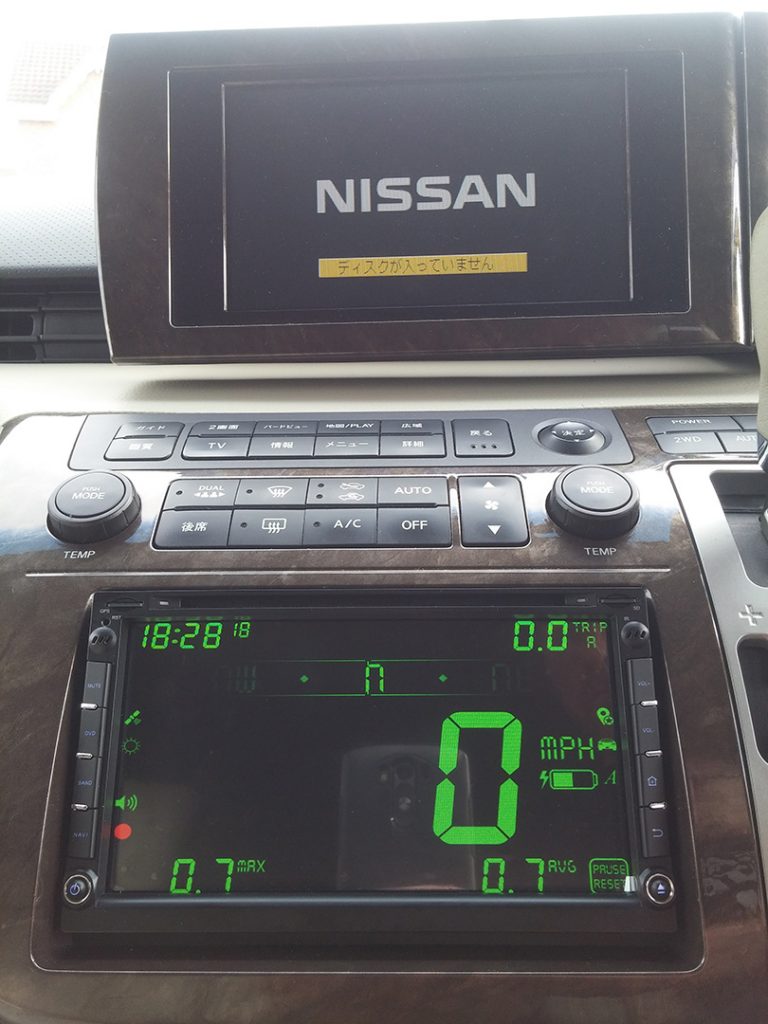
And now for another test drive. I got up to the recommended speed and pressed SET…and I had cruise control! Woohoo!

The cruise control works really well, staying within 1mph on fairly flat roads. You can feel it modulating the throttle to some degree but it’s nice and smooth overall. I’ve yet to see how it handles hills.

During my short test drive I also put it into one for the seven Sport modes, SP3, and it felt completely different to the Elgrand’s built in Power mode. So much sharper. I didn’t play with the five Eco modes so I’ll leave that for another time.

So far (after about 10 miles) I’m really impressed with the system. It’s well built with all of the plastics feeling of a high quality and it comes with everything you need to install it, even down to an LED on a wire to test for 12v if you don’t have a meter. The cruise works extremely well, as does Sport mode, and you can even set the rate of change when returning to the set cruise speed (set higher for small cars, lower for big cars). it also looks very stylish and unobtrusive in my opinion.

I’m looking forward now to a good drive with it tomorrow to see how the rest of it works.

Edit: If you need the instructions in English, or you’re just curious to see how the unit works, then here they are (PDF, 443KB).


Pivot 3-Drive Alpha Throttle & Auto-Cruise install – Part 1

Today, after just a couple of weeks, my new Pivot cruise-control/throttle controller arrived. Packaging was sufficient with a couple of layers of bubble wrap around the three boxes. Everything arrived unscathed. Before it could be delivered I had to cough up £49 in customs fees. The unit cost £164 including shipping from Japan.

Inside were the following:

The main unit
The main unit
Brake harness (4-pin)
Throttle harness
Throttle harness

Here’s the unit:

I decided that although I wouldn’t have everything I needed to complete the install I might as well make a start. I’d only have a couple of hours daylight at the most, and I still hadn’t worked out where the speed signal wire can be found.

First I connected the brake harness, which is easy enough (if somewhat awkward) – unplug the existing connector and plug the harness in between the two plugs. The harness only provides a fly-lead for each of the four wires, one of which powers the unit and the other signals that the brake is pressed. I connected the separate earth wire.

I needed to find the constant 12v and the switched 12v in the brake harness. Constant was white and the only other wire with 0v but then had a voltage when the pedal was pressed was the yellow wire, but the voltage was only 0.33v. I’ve seen a similar install on another website where the blue wire is the switched one I need. More investigation is required.

Brake harness connected

After that I connected the throttle harness, making sure to first remove the orange waterproof gasket from inside the plug. I fitted a tie-wrap to secure the two plugs together as instructed but realised later that unless I completed the install I’d have to remove the harness as several wires don’t connect up. I started it up to see a 4WD error, the check engine light, and no throttle control!

I decided to mount the unit where it could be easily seen, but wasn’t too obvious, and was in easy reach. I figured I can reach it easily when resting my wrist on my shift knob when in D.

A piece of double-sided tape secures it to the bottom of the screen bezel:

The unit mounted in plain view

That’s as far as I’ve got so far. Left to do then:

  • find the speed signal wire and solder the orange wire to it
  • connect the red wire to the constant 12v in the brake harness
  • connect the grey wire to the switched wire in the brake harness
  • Install the throttle harness (again)
  • fix the control unit to the footwell behind the kick-panel
  • plug the connectors into the control unit

My knob replacement

My knob’s been in a rather unpleasant state since I took delivery of it back in May and I’ve been wanting to do something about it for ages now.

It’s been in, I presume, almost daily use for the last fourteen years so it’s bound to be showing signs of wear. What can you expect after years of rough handling, what with wedding rings chafing against it and the thrusting back and forth action when in use? Even so, I’m always conscious of my knob when I have someone new in the front, I often find myself trying to see if they are looking across at it perhaps in disgust. I’d keep my hand on it so they couldn’t see the grubby, worn exterior.

It’s a shame it’s in such bad condition because actually it’s very comfortable to handle. It’s nice and firm with no give and it fits in my hand really nicely. It doesn’t get too hot in the sun, nor does it get freezing cold in the winter. A perfect knob actually. But, it just looks a bit shit.

So after seeing another Elgrand owner had bought an 8-ball shift knob I decided it was now time to change my knob too.

Funnily enough, I used to have a yellow spot (number 1) in my Mini back in the 80’s. A mate ‘happened across it’ and gave it to me. I’m sure the pub it came from has long since been knocked down to build houses. I drilled a suitable hole in it and because I didn’t have  a tap and die set I wrapped electrical tape around the gearstick threads and screwed the ball on tight. I can still picture using it on the long Mini gearstick.

I was all set to relive my youth by getting another yellow spot and did some searching on that popular auction site. There were quite a few available, but what thread dimensions did I need? Most were for VWs, and Elgrands have a different thread size. Turns out I needed M10 x 1.25.

While searching I saw several other ‘pool balls’ but my heart was set on the yellow spot…that was until I saw a Pokéball. About the same size as a pool ball (give or take 2mm) and comes with three different mounting thread options by way of additional threaded inserts, including the one I needed.

Dilemma! Do I go down the route of reliving my youth (that long gone Java green Mini 850 has many fond memories attached to it), or should I go with a Japanese theme perfectly suiting a JDM vehicle?

Continue reading My knob replacement

Pumpkin Android player, 8 months on

Well it’s been 8 months already using this unit so maybe it’s time to say a bit on what it’s been like to live with.

Overall it’s been a good investment. It’s done everything it’s promised so far with few complaints.

So what have been the positives?

The sound quality is good and it has enough volume for all situations.

It runs Android apps great although there’s really only a couple I use on the move.

The interface is fine and fluid with no lag.

It looks cool with its blue back-lit buttons.

It starts up pretty quickly and I like having the Nissan logo displayed while it’s booting.

Integration with the buses steering wheel controls is a great feature.

Here are the negatives then…

Often poor radio reception.

The buttons sometimes seem to take a couple of presses to register.

Can’t enable Mock locations in Android so I can’t use my external GPS receiver.

Technical support is pretty poor with them just quoting the manual, or saying x is not supported in this version.

It’s lost paired Bluetooth devices a couple of times.

Only DVD can output to external devices and not movies played from SD etc.

Final thoughts: I would buy one again as this one is fine for what I need and they will only improve with newer versions of Android. It’s a shame the external outputs are only for DVD (actually they also output what is coming into the input but the sound is only sent to the rear speakers for the latter). Not being able to use an external GPS receiver is my biggest gripe.

DigiHUD Speedometer Pro


Sumvision Cyclone Micro 4

I recently bought a Sumvision Cyclone Micro 4 multimedia player so that we can watch movies from SD/USB/HDD if out on a long trip.

[IMG]

This thing is pretty small and neat so here are my pro’s and con’s (so far):

Pro’s

  • Small
  • power, AV out, optical out and HDMI connectors are all at the back
  • Powered by USB, comes with a mains plug and cable
  • Simple interface and controls
  • Remote control (ir)
  • Plays a lot of file formats
  • NTSC or PAL
  • Miracast and many more features

Con’s

  • SD card slot and USB port are on the side, limiting where it can be mounted. The front only has the ir sensor so I’m sure there would be room
  • Auto-on when powered up, stopping the Pumpkin playing music etc through the rear audio channels. A con for me but may not be for you
  • Curved bottom could make mounting to flat surfaces trickier
  • Generates noise through the AV IN line, making annoying buzzing sounds when navigating the menus
  • Can’t power up a 2.5″ laptop HDD, would need externally powered drives

I managed to fit it today and whilst doing so found a problem with my bus’s AV.

Previously I had just run a single RCA (yellow) to the middle row socket so that the Pumpkin could output video to the bus’s screens and drive the speakers itself. Worked fine, but with the Cyclone I thought I’d try to connect it directly to the sockets independently of the Pumpkin. Found that no matter what I pressed up front or on the AV remote I could get no sound from the speakers. The Cyclone was playing sound fine as I’d just connected it to the Pumpkin’s AV IN.

So my plan to just put the Cyclone in the back somewhere and plug it in when required went out of the window.

Now I have it connected to the Pumpkin’s AV IN plugs, and it works on all three screens. I’ve moved my camera feed to ‘CAM IN’ but it needs 12v to the reverse wire to switch to that input so connecting that to my video mixer’s trigger switch is a job for another day.

I removed the multiple power feed unit from the middle drawer in the console and put the Cyclone in there.

[IMG]

[IMG]

The wires come through the back of the drawer, along with the Pumpkin’s USB/iPod connectors. The power wire and my dashcam power wire both come through under the centre console.

I’ll sort out the position of the power unit soon, or come up with some solution that has several USB ports flushed with a panel.

My first job today was actually replacing the single AV cable with a three way cable which has now been a waste of time (unless I can work out what the heck is causing no sound to be played from that port).

Strangely whilst doing all this the only controls on the bus’s AV remote that work now are volume and power. I’ve lost the rear screen tilt adjustment and who knows what else that was working when I last used that remote.